Addition of files to the order
Resending of the email to the customer
Orders are placed for previously created Products. An order is a sale to an end user (educational institution or individual) made on the platform.
There can be manual sales on the platform and automatic sales through an online store.
Creating an Order Manually
1. Open the “Orders” tab (red arrow on Exhibit 1).

Exhibit 1
2. Click on the “Add Order” button (blue arrow on Exhibit 1).
3. Enter the order identifier in the External ID field (yellow arrow on Exhibit 2) for easier order tracking by the user.
For convenience of work, in the “Tags” field you can assign a tag for certain or identical types of orders (blue arrow on Exhibit 2).

Exhibit 2
4. Orders may be sales to end users or organizations. Choose between “End User (B2C)” and “Organization (B2B)” (orange arrow on Exhibit 2) as needed.
5. Information to be entered will depend on the user type selected.
5.1. B2C
5.1.1. If the recipient is already registered with Aggregion, select “Existing” and find the user by name, email address or ID (Exhibit 3).

Exhibit 3
5.1.2. If the recipient is not yet registered with Aggregion, select “New” and enter the customer’s email address. If desired, add the customer’s first and last name (Exhibit 4). Choose the user's language. Using this information, the system will create a new user. Once the order is processed and confirmed, a login name and password will be sent to this email address along with the information about the order received.

Exhibit 4
5.1.3. Where the recipient is the intended end user of the content, select “Activate on purchase" (green arrow on Exhibit 5). The license will be automatically activated for the recipient selected.
Where this field is left blank, the recipient will still have the option of activating the license himself or herself at a later time or pass it along to another user.

Exhibit 5
5.2. B2B
5.2.1. When choosing B2B, you will need to find the organization in the system by its name or ID (yellow arrow on Exhibit 6).

Exhibit 6
5.2.2. In this case, the license cannot be activated to the recipient’s name. This field (light blue arrow on Exhibit 5) will not be active for B2B.
6. To add a product, click on the “Select Product” button (purple arrow on Exhibit 7).

Exhibit 7
7. In the window that opens, select the product from which you intend to sell or distribute items, as shown on Exhibit 8, and click on the “Add” button (blue arrow on Exhibit 8). Please note that only products that are marked as “For Sale” may be selected.

Exhibit 8
8. Click on the “Add New Item” button (green arrow on Exhibit 9). After adding goods to an order it will be saved automatically.
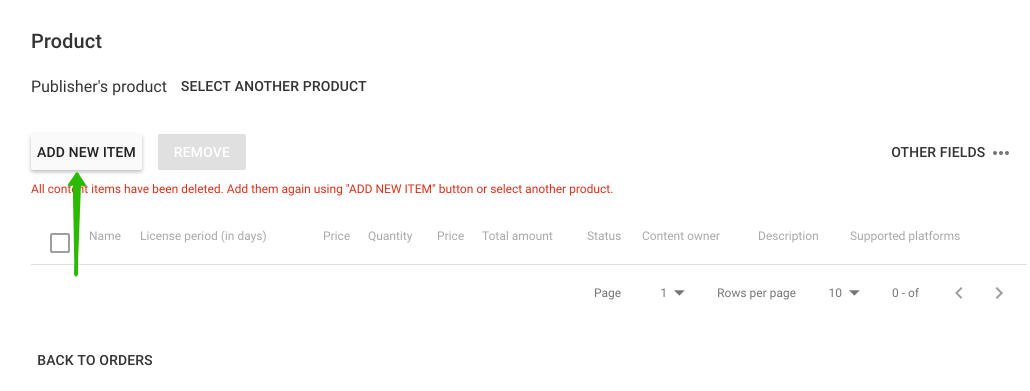
Exhibit 9
9. Select specific items to add to the order and click "Add" (red arrow on Exhibit 10). These items are to be selected from the product added in Step 7. To add all catalog items click "Add all" (green arrow on Exhibit 10).

Exhibit 10
10. Enter quantity for each item selected (green arrow on Exhibit 11).
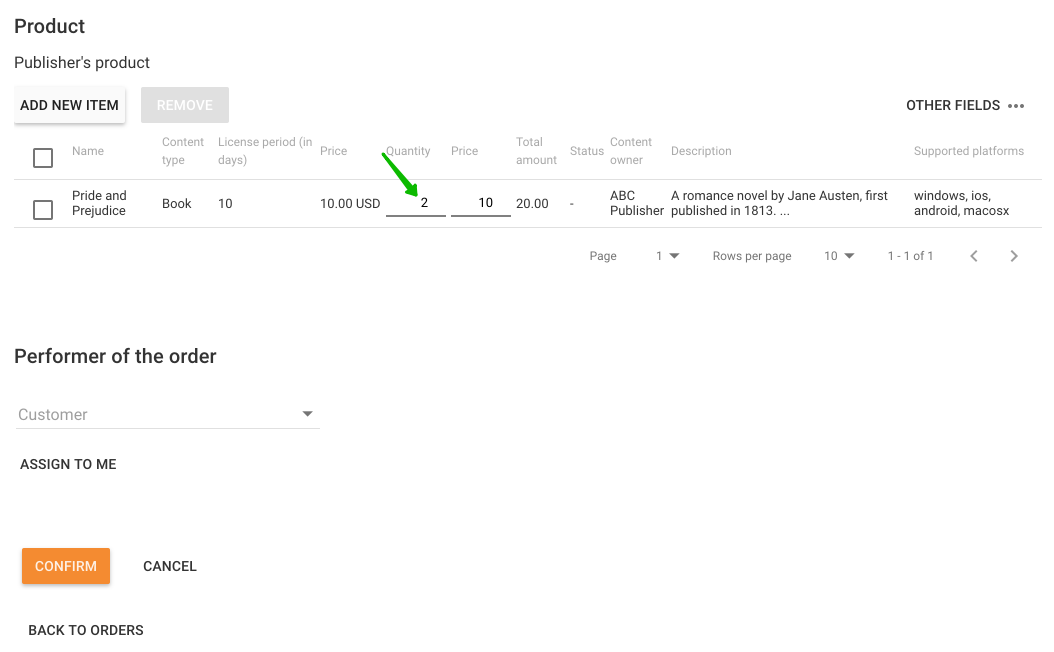
Exhibit 11
11. Verify the quantity and pricing of the items added.
Addition of files and optional information to the order
1. If you need to add any documents to the order for having this order approved by the copyright holder, go to the Files tab (blue arrow on Exhibit 12).

Exhibit 12
2. Add files by following the file adding instructions from the article Uploading content. Related to the order files can be added not only by the manager, but also by the customer. When you add a file, the customer receives a notification about this on his email address. Added files are displayed as a table for both sides of the order and are available for viewing and downloading (red arrow on Exhibit 12).
3. If you need to add additional information to the order, go to the Options tab (green arrow on Exhibit 13). Fill in the field name and value. You can add any number of fields. Click the Save button (blue arrow in Exhibit 13). Options are editable only when the order is not confirmed yet.

Exhibit 13
Confirming an Order
The newly created order will be marked as “Pending” (Exhibit 14). Once the order is paid for by the customer, it needs to be confirmed to have the license transferred.
1. To open an order, click on the order number (purple arrow on Exhibit 14).

Exhibit 14
2. Select “Confirm” (green arrow on Exhibit 15) if the order has been paid for or “Cancel” if the customer changed his or her mind and there is no longer a need to proceed with this order.
Please remember that once the order is confirmed, you can no longer change it.

Exhibit 15
3. Upon confirmation of the order, content will be forwarded to the said user, and he or she will receive necessary instructions by email. If “Activate on purchase” has been checked when the order was processed, the license will be automatically activated to the user selected.
4. If you order a license code when there are no unused codes left available in the catalog, once the order is confirmed, the order status field will display Awaiting Delivery. Once additional codes for this item are added to the catalog, the status will automatically change to Confirmed.
Filters
For the convenience of searching and working with a large number of orders, order information can be filtered. To filter the Orders created in the current account in the “Outbox Orders” section, click the “Show Filters” button (blue arrow on Exhibit 16).

Exhibit 16
In the window that opens, you can filter outbox orders by the following parameters:
- date of creation (red arrow on Exhibit 17),
- date of confirmation (blue arrow on Exhibit 17),
- order status,
- product (blue arrow on Exhibit 17),
- order recipient (yellow arrow on Exhibit 17),
- order manager,
- name and field value (blue arrows on Exhibit 17).
To reset the parameters specified in the filters, click the “Clear Filters” button (green arrow on Exhibit 17).

Exhibit 17
To sort Orders, where the current account is the recipient, in the “Inbox Orders” section, click the “Show Filters” button (blue arrow on Exhibit 18).

Exhibit 18
In the window that opens, you can filter inbox orders by the following parameters:
- date of creation (red arrow on Exhibit 19),
- date of confirmation (blue arrow on Exhibit 19),
- order status,
- creator of the order.
To reset the parameters specified in the filters, click the “Clear Filters” button (blue arrow on Exhibit 19).

Exhibit 19
Creating Orders Automatically
This will be done by the user placing an order through a storefront, such as an online store. This type of orders requires no additional action, except for confirming the order as paid.
The distributor will see orders placed through an online store in the same window as those created manually (Exhibit 14).
If at the time the order was placed through the online store a document required for having this order approved by the copyright holder was added, this document will show in the Files tab (blue arrow on Exhibit 12). The document will be automatically saved in Storage.
To confirm an order, open the “Orders” tab (red arrow on Exhibit 1) and follow the order confirmation instructions from part "Confirming an Order" above.
Detailed order information may be viewed by clicking on the order number (purple arrow on Exhibit 14).
Resending of the email to the customer
If once the order is confirmed the recipient fails to receive, for whatever reason, a letter containing order information, you can resend this letter at any time.
1. Open the order by clicking on the order number (purple arrow on Exhibit 14).
2. Click on the Resend Letter button (green arrow on Exhibit 20).

Exhibit 20
3. A duplicate letter will be sent to the customer.